Valentines Snacks Chocolate Granola Bark
Uitgelicht onder: Gebakken voedsel
Valentines Snacks Chocolate Granola Bark
Valentines Snacks Chocolate Granola Bark
Valentines Snacks Chocolate Granola Bark
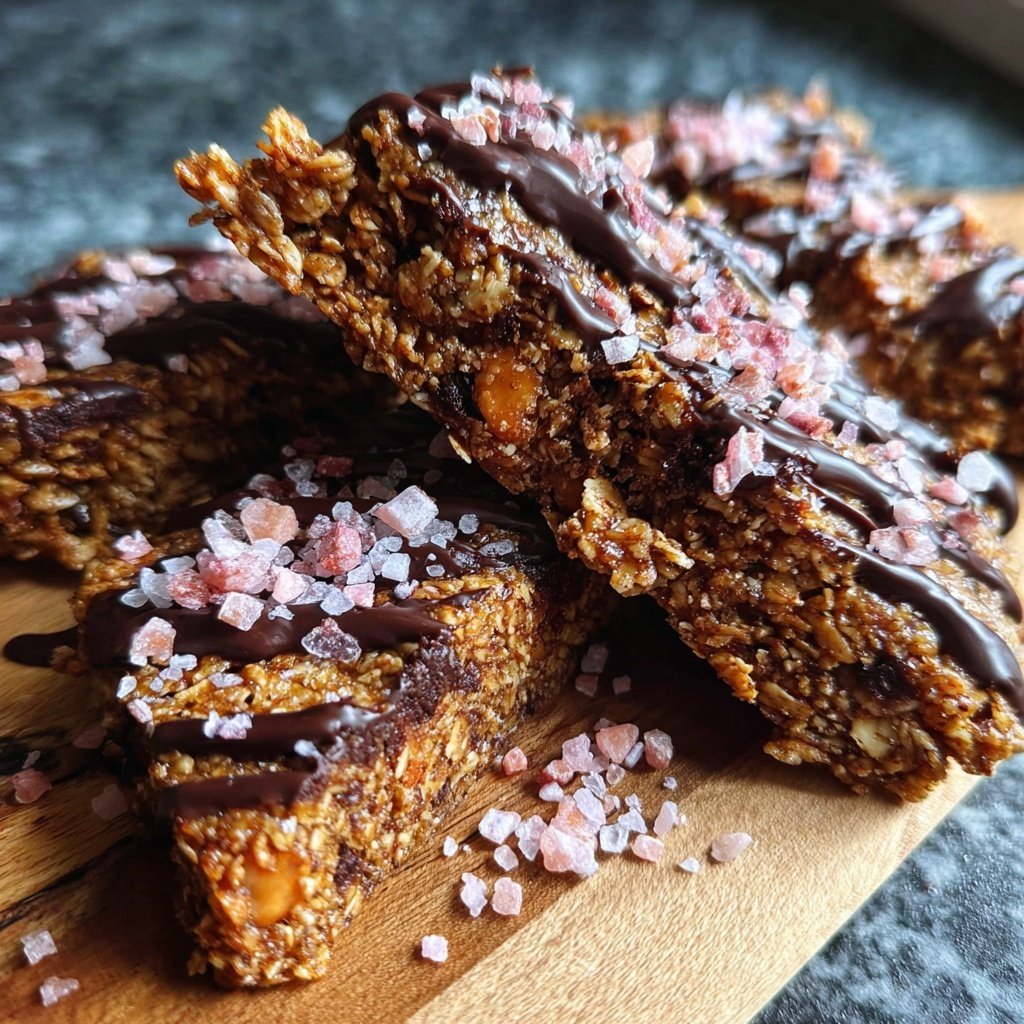
Crafting the Perfect Chocolate Granola Bark
Creating Chocolate Granola Bark involves melting high-quality chocolate, which is essential for achieving a smooth, glossy finish. Use a double boiler or a microwave on low power, stirring frequently. Aim for a temperature slightly below 100°F to prevent overheating, which can cause the chocolate to seize. Once melted, allow it to cool slightly before mixing in your granola and other ingredients; this helps maintain the chocolate's fluidity for easy spreading.
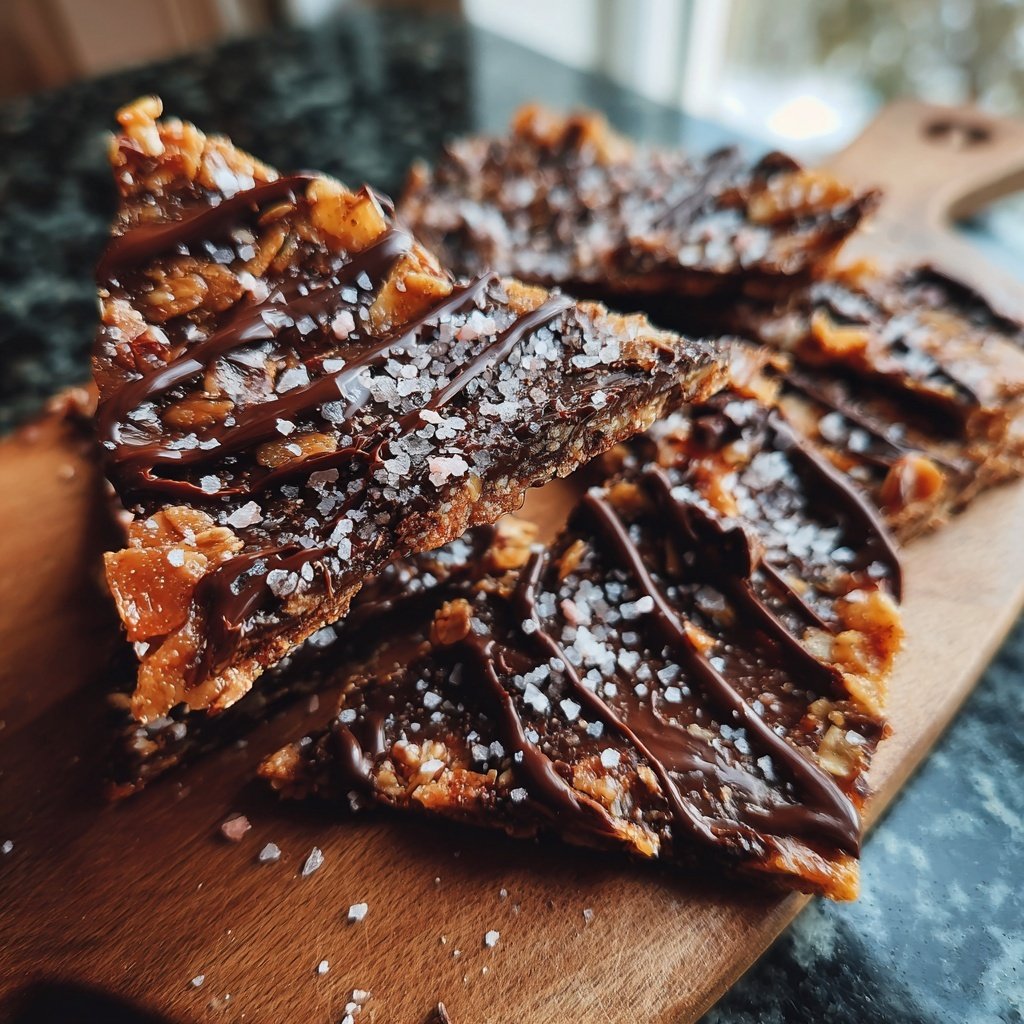
Incorporating granola into the chocolate is what gives the bark its unique texture. Opt for a mix that combines oats, nuts, and seeds for added crunch and flavor variety. If you're feeling adventurous, try adding dried fruits or coconut flakes to enhance both the taste and appearance of your bark. The range of textures from these ingredients will elevate the final product, making it not just a sweet treat, but a satisfying snack.
Storage and Serving Suggestions
Once your Chocolate Granola Bark has cooled and set, it's important to store it properly to maintain its texture. Cut the bark into pieces and store them in an airtight container at room temperature for up to a week. If you want to extend its shelf life, consider refrigerating it, which will keep the bark fresher for about two weeks. Just be aware that refrigeration might affect the chocolate's smoothness, so take the bark out about 20 minutes before serving.
When it comes to serving, Chocolate Granola Bark can be a versatile addition to your Valentine's celebrations. Arrange it on a decorative platter along with fresh strawberries and whipped cream for a delightful dessert table. Alternatively, package pieces in cellophane bags tied with a ribbon for charming homemade gifts. This way, you can share the love with friends and family while showcasing your culinary skills.
Troubleshooting Common Issues
If you find that your chocolate has seized while melting, don’t panic. This can happen if there’s even a small amount of water in your chocolate. To salvage it, add a small amount of vegetable oil or shortening to the seized chocolate and stir until smooth again. This will restore its texture, allowing you to proceed with mixing in your granola.
Another common issue is the granola not sticking to the chocolate properly. Be sure to mix the granola into the melted chocolate promptly while it’s still warm; this will help the chocolate coat the granola evenly. If you’re adding heavier ingredients like nuts or seeds, consider chopping them finely to enhance their adhesion. A quick toss in the chocolate before spreading will ensure everything is combined well.
Ingredient Role and Substitutions
The star of this recipe is undoubtedly the chocolate, and choosing the right type can dramatically affect taste. Dark chocolate offers a rich flavor with less sweetness, making it ideal for counterbalancing the sweetness of granola. If you prefer a lighter option, white chocolate can be substituted, though it may require additional salt or seasoning to enhance its flavor profile.
Granola can also be customized based on your dietary preferences. For a gluten-free version, select certified gluten-free oats, and for nut-free options, opt for seeds like pumpkin or sunflower instead of nuts. This flexibility makes the recipe accessible to various dietary needs while allowing personalization to suit taste preferences.
Scaling the Recipe Up or Down
If you're planning a larger gathering, you can easily double the recipe. Just ensure your baking sheet can accommodate the increased amount; a larger sheet might be needed to maintain the same thickness. Spread the chocolate evenly across the sheet for uniform setting, ensuring it doesn't exceed more than 1/4 inch in thickness.
Conversely, if you’re only making a small batch, consider halving the recipe. Using a smaller pan, like an 8x8-inch square, works perfectly for this, allowing you to control portions easily. Just watch the setting time as it may change slightly due to the reduced volume—aim for about 30-45 minutes for it to harden properly.